
How I Wash my Makeup Brushes + DIY Brush Cleanser
Hey Beauty Bees,
Last week I mentioned about deep cleaning your makeup brushes to prevent breakouts in my Debunking Nine of the Biggest Beauty Myths post. Today I am going to show you step by step on how I go about doing this tedious task that many makeup lovers groan about. Now experts say you should be cleaning your brushes every single month but I will admit to being past due once in a while especially since I have quite a collection of brushes so I just swap the dirty for clean ones. Yesterday while doing my makeup I noticed that certain brushes definitely needed some attention so I decided that it was time to buckle down and get this chore done with for this month.
In these 9 steps you can have your brushes looking like they did when you first opened their package.

- dirty makeup brushes
- clean, dry towels
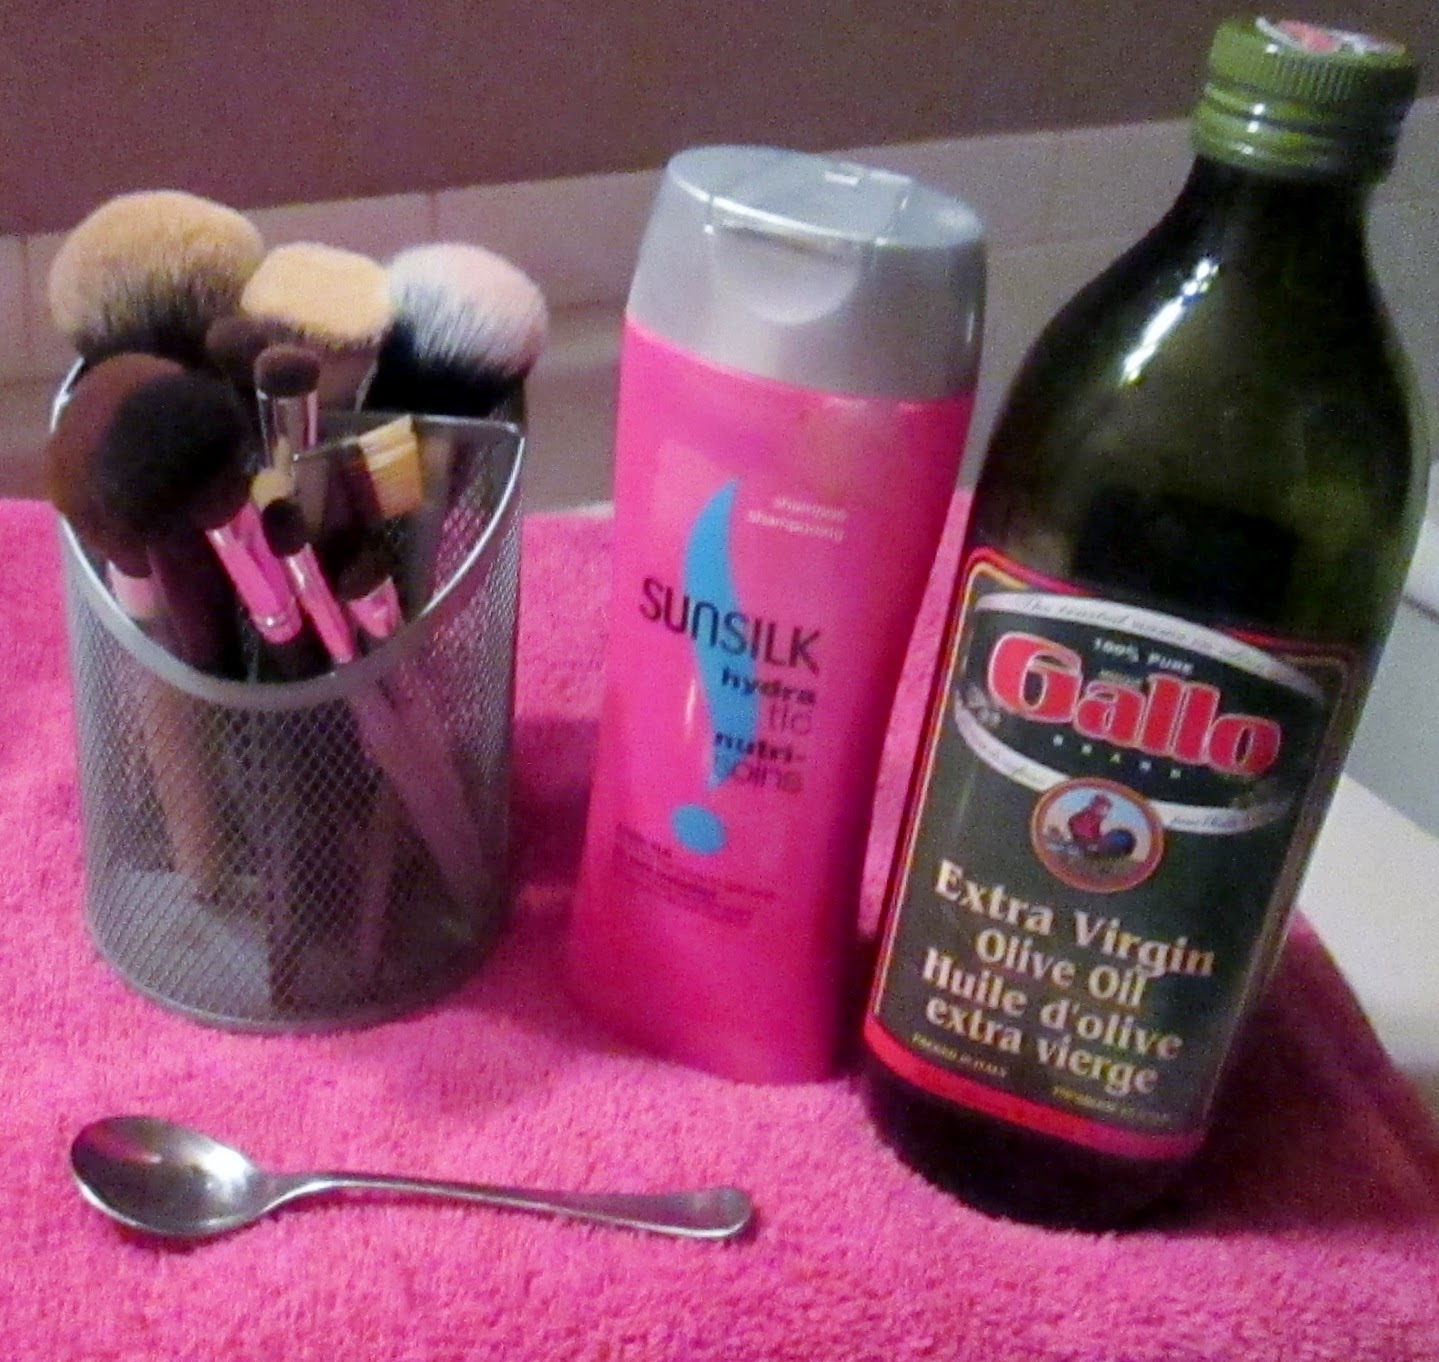
- makeup brush cleanser or brush shampoo
Since I am still on Vacation for a few more weeks, I forgot my brush shampoo at home. There are many different things you can use to wash your brushes like baby shampoo, bar soap or finding a recipe for a cleanser online like I did.
D.I.Y Makeup Brush Cleanser
You will need any type of shampoo and olive oil to make this simple cleanser. All you need to do is mix equal parts of each ingredient in a small bowl until completely blended.
At first I was skeptical about the combination until I read the benefits of it.
The shampoo cleans your brushes thoroughly and safely without causing any damage to the bristles of your brush.
The olive oil acts as a conditioner, keeping the brushes feeling super soft. It also works amazing at breaking up any built up makeup residue on brushes such as lipstick or gel liner. This is a great product to use when trying to get stains off of brushes, especially white ones.

2. Wet your Brush
Run the bristles of your brushes under lukewarm water to get the initial amount of makeup off. Avoid getting water under the metal clasp of the handle since this could loosen the glue that holds all the bristles together and cause them to fall out.
* Do no use hot water
**Always angle the brush downwards into the stream of water, keeping it from finding its way into the metal clasp.
3. Apply Cleanser
Once the brush is wet, use a little amount of whatever cleanser you have chosen. You can either dip it right into your cleanser like I did or you can put a little into the palm of your hand.
4. Clean the Brush
Gently scrub the brush against your palm. You will see the suds change color as this is the makeup coming off your brush.
*Rinse and continue repeating steps 3 and 4 until you no longer see any makeup coming off your brush.
5. Full Rinse
Once all the makeup is off, do a final thorough rinse to get all the cleanser off your brush. Do this until the water runs clear.

6. Pat the Bristles
You will now want to gently squeeze out the water from the bristles and then pat them dry on a clean, dry towel.
7. Reshape your Brushes
The bristles would have lost there shape in the water. Spread the bristles apart with your fingers to help get them back in shape.
8. Lay Brushes on Towel
Leave your brushes to dry on a dry towel overnight. Check to make sure none of the bristles are bent underneath.
*Do not put your brushes in a container standing up because this will cause any left over moisture to build up in the metal barrel.
9. Fluff and Put Away
Once fully dry you will want to fluff your brushes. This is easily done by swirling them against your hands. They are now ready to be put away or used.

Beauty Blender Cleaning
You can also clean your sponges using the same DIY cleanser and steps. The only difference is that you can be a little bit more rougher with the sponges and submerge it fully since the water can not damage it in any way. Sponges will take more time to get fully clean. Although the water may seem that it is running clear, you will want to repeat the cleanser and rinse steps multiple times. Also, you will need to use more force and pressure to really draw out all the built up makeup that has been sucked into the sponge. As you can see in the image here, my beauty blender looks almost brand new and its bright pink color has returned.
This is how I clean my makeup brushes and tools every month. Let me know if you try out the DIY cleanser and how it worked for your brushes.
Also check out my last post: How to Style the Peplum Trend for Everyday

This is how I clean my makeup brushes and tools every month. Let me know if you try out the DIY cleanser and how it worked for your brushes.
Also check out my last post: How to Style the Peplum Trend for Everyday
I have to wash my brushes regularly too in order to avoid breakouts, I normally just use a certain soap but after seeing your before and after photos, it is worth giving the DIY cleanser a try. Thanks for the tips! :)
ReplyDeleteYou are welcome hun!! Just remember to rinse very well!!
DeleteI use the same method it's the best its so Important to keep your makeup brushes clean your blog is lovely by the way
ReplyDeletewww.misslaurenmorgan.blogspot.co.uk
Thanks Lauren!! Yours is great too!
Deleteinteresting and usefl post !
ReplyDeletewww.madamedaria.blogspot.com
Thanks!! I am glad you enjoyed!!
DeleteFab idea! I like to use coconut oil to wash mine :)
ReplyDeleteStyle Sunrise ☀
:)
x
Coconut oil is another great idea!! I will have to try that one out. Thanks for the read and input <3
DeleteI use a similar method, too! Fab post!
ReplyDeletewww.zoeliannex.blogspot.co.uk
xx
Thx so much
DeleteThis comment has been removed by a blog administrator.
ReplyDeleteThis is such a great post for cleaning make-up brushes!
ReplyDeleteI always struggle to get mine clean!
Cheers, Britt
www.justbritt.co
Thanks!! I found this method to work well everytime
DeleteGreat DIY and How to post found it helpful! I'm a bit naughty when coming to wash my brushes find it such a chore hehe x
ReplyDeleteem // emandhan xo
Trust me, I do too!! It is not a fun task but it needs to be done.
Delete